
Building a NextJS starter with Express, Apollo, Styled-Components, ESLint and dotenv
Published: March 21, 2019
Introduction
NextJS is an amazing framework that provides a great environment for React applications. Zero setup, server side rendering by default. Have you tried adding SSR to React projects? I have, it's not fun. I love that you can pick it up, and get going in minutes.
The examples folder has a starter project for probably anything you ever want to start with. Custom express server, Redux, TypeScript, you name it. Check it out, if someonething you're thinking about isn't there, chances are they will add it soon, because that folder gets updated on a weekly basis.
However, a lot of the times, you'll need more than one of those technologies to get going. So, I find myself bouncing between example folders and taking little bits from here and there. The initial setup time isn't THAT much building a single applicaiton, but when you do it over and over again, it accumulates.
For that reason, I wanted to create a 'starter' that encapsulates most of the things I need to get going. They are:
- Express server - fairly easy to configure and add plugins to as well as set up custom routing
- Styled Components - I prefer to style my components this way
- Apollo - Most of the time I'll need to pull data from somewhere, and I've been into GraphQL for a while now
- ESLint - I want my code to look good and save on edit by default.
- dotenv - I like to manage my environment variables this way
These are some basics that I find myself always going for so having a starter that has all of them preconfigured will save me A TON of time in the future. And hopefully, you find some value in this as well.
Let's get started.
NextJS
We're going to start with initializing an empty folder and installing all the dependencies to get NextJS running.
In your terminal
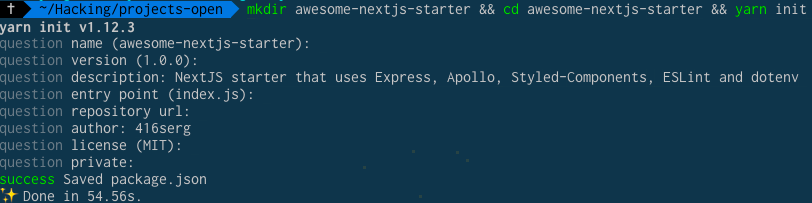
mkdir awesome-nextjs-starter && cd awesome-nextjs-starter && yarn init
## OR
mkdir awesome-nextjs-starter && cd awesome-nextjs-starter && npm init
I don't care if you use NPM or Yarn and I am not going to argue with you on this one, but for the sake of not duplicating every command coming up, I am going to stick with Yarn. I am sure you'll be able to figure out the NPM commands on your own.
Go through the process of creating a package.json file.
Now we'll install the dependencies to get NextJS going.
yarn add next react react-dom
Now we just need to scaffold a few additional folders to make sure NextJS runs when we need it to.
mkdir pages components && touch pages/index.js
The pages folder is where NextJS builds its routes from by default. We'll revisit this later, when we're setting up express, but for now this is a good starting point.
Now we'll open up the folder in our favourite text editor. I've been using VS Code for a while now, it's a game changer.
We'll modify package.json to add the NextJS scripts.
{
  "name": "awesome-nextjs-starter",
  "version": "1.0.0",
  "description": "NextJS starter that uses Express, Apollo, Styled-Components, ESLint and dotenv",
  "author": "416serg",
  "license": "MIT",
  "scripts": {
    "build": "next build",
    "start": "next"
  },
  "dependencies": {
    "next": "^8.0.3",
    "react": "^16.8.4",
    "react-dom": "^16.8.4"
  }
}
And now let's go into the index.js file inside pages folder and set up our homepage.
export default function HomePage() {
  return (
    <h1>Home Page!</h1>
  )
}
With NextJS applications you don't need to import React, it just knows you'll be using it so it gives it to you by default, magic!
We can now start up our server by heading to our terminal
yarn start
It should spin up the server at http://localhost:3000 so we'll go check it out in the browser.
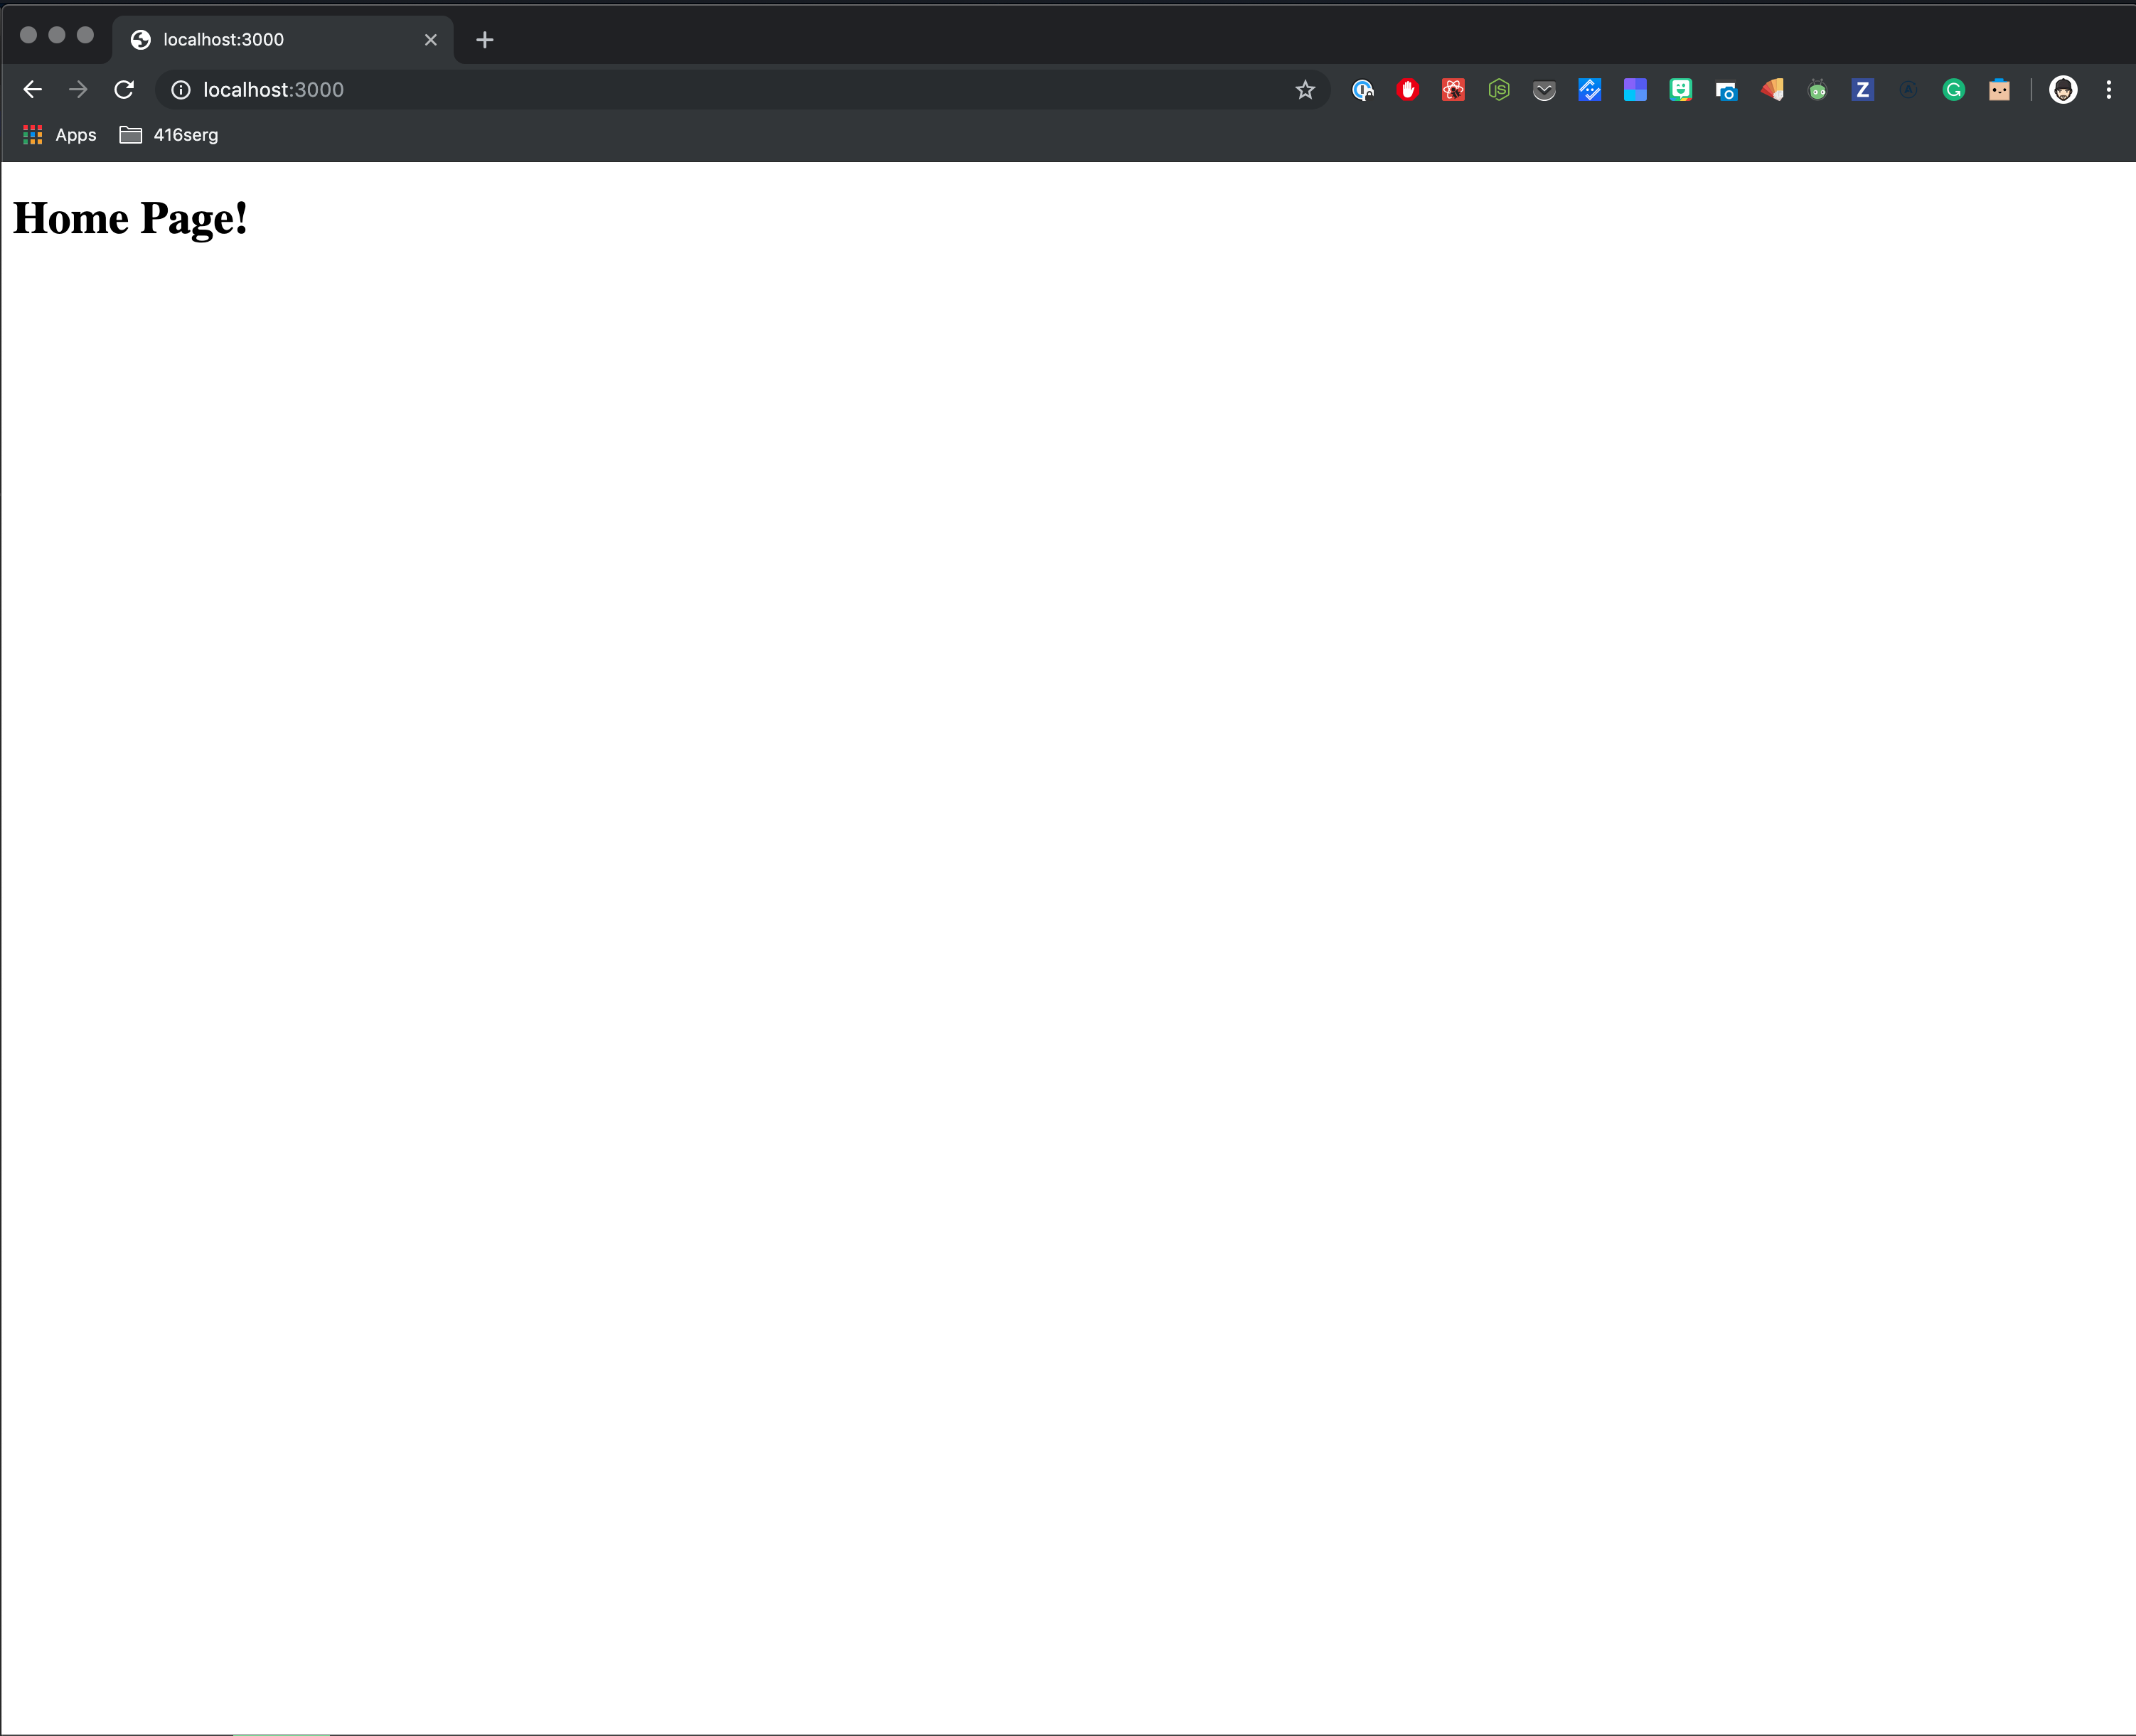
Voila, how easy was that!
Express
By default, NextJS routing only works with pages and query strings. So suppose you're building a store front for your awesome sneakers. You'll have a /shop page to display all your items and you want to have a /shop/yeezy-500 to display an individual product. Well, without Express, the best thing NextJS can do is /shop?title=yeezy-500 which isn't ideal for SEO or, just aesthetically in general.
So we're going to install an Express server where we can manage how the server interprets URLs, as well as create custom responses for stuff like robots.txt and sitemap.xml cause it's 2019, and SEO still matters.
So let's head over to the terminal and get it going.
yarn add express
Next, we'll go ahead and setup the server. Let's create the right files first:
mkdir server && touch server/app.js
Inside app.js, here's what we'll have
const express = require('express')
const next = require('next')

const dev = process.env.NODE_ENV !== 'production'

const port = process.env.PORT || 4160

const ROOT_URL = dev
  ? `http://localhost:${port}`
  : 'https://awesome-nextjs-starter.now.sh'

const app = next({ dev })
const handle = app.getRequestHandler()

// Nextjs's server prepared
app.prepare().then(() => {
  const server = express()

  server.get('*', (req, res) => handle(req, res))

  // starting express server
  server.listen(port, err => {
    if (err) throw err
    console.log(`> Ready on ${ROOT_URL}`) // eslint-disable-line no-console
  })
})
And now we have to modify package.json to give it a different script to run in development
  "scripts": {
    "build": "next build",
    "start": "node server/app.js"
  }
Let's try running it again. Run yarn start in your terminal and now if you go to http://localhost:4160 you should see the exact same page show up. Note, the port is specified in server/app.js on line 6.
Extending with robots.txt and sitemap.xml
If you're building sites that rely on SEO, it's a good idea to add robots.txt and sitemap.xml for our good friends Google Crawlbot and the DuckDuckGo QuackBot (I don't know about that one, I just made it up).
We'll start by installing another dependency:
yarn add sitemap
We'll also go ahead and create the robots.txt file
mkdir static && touch static/robots.txt
NextJS treats anything in the static folder as a static resource. This is where your icons, images, fonts would probably go.
Let's configure robots.txt first
#                  ,--.    ,--.
#                 ((O ))--((O ))
#               ,'_`--'____`--'_`.
#              _:  ____________  :_
#             | | ||::::::::::|| | |
#             | | ||::::::::::|| | |
#             | | ||::::::::::|| | |
#             |_| |/__________\| |_|
#               |________________|
#            __..-'            `-..__
#         .-| : .----------------. : |-.
#       ,\ || | |\______________/| | || /.
#      /`.\:| | ||  __  __  __  || | |;/,'\
#     :`-._\;.| || '--''--''--' || |,:/_.-':
#     |    :  | || .----------. || |  :    |
#     |    |  | ||Awesome NextJS|| |  |    |
#     |    |  | ||   _   _   _  || |  |    |
#     :,--.;  | ||  (_) (_) (_) || |  :,--.;
#     (`-'|)  | ||______________|| |  (|`-')
#      `--'   | |/______________\| |   `--'
#             |____________________|
#              `.________________,'
#               (_______)(_______)
#               (_______)(_______)
#               (_______)(_______)
#               (_______)(_______)
#              |        ||        |
#              '--------''--------'

# "We hold these truths to be self-evident,
#          that all bots are created equal."
#                      ~ Thomas Jeffersonbot
User-agent: *
Allow: *
Crawl-delay: 5

# Sitemap: https://awesome-nextjs-starter.now.sh
I wish I remembered where I found that robot before, but whoever made that to let me copy that, thank you.
Next, we'll head back to server/app.js and configure our sitemap.
const express = require('express')
const next = require('next')
const sitemapAndRobots = require('./sitemapAndRobots')

const dev = process.env.NODE_ENV !== 'production'

const port = process.env.PORT || 4160

const ROOT_URL = dev
  ? `http://localhost:${port}`
  : 'https://awesome-nextjs-starter.now.sh'

const app = next({ dev })
const handle = app.getRequestHandler()

// Nextjs's server prepared
app.prepare().then(() => {
  const server = express()

  sitemapAndRobots({ server })

  server.get('*', (req, res) => handle(req, res))

  // starting express server
  server.listen(port, err => {
    if (err) throw err
    console.log(`> Ready on ${ROOT_URL}`) // eslint-disable-line no-console
  })
})
Notice how we're requiring ./sitemapAndRobots inside that file and are then invoking it as a function within our server definition. So go ahead and create a server/sitemapAndRobots.js file with the following:
const sm = require('sitemap')
const path = require('path')

const sitemap = sm.createSitemap({
  hostname: 'https://awesome-nextjs-starter.now.sh',
  cacheTime: 600000 // 600 sec - cache purge period
})

const setup = ({ server }) => {
  // This is where you'd add all your pages for the site map. Example:
  sitemap.add({
    url: '/about',
    changefreq: 'daily',
    priority: 1
  })

  server.get('/sitemap.xml', (req, res) => {
    sitemap.toXML((err, xml) => {
      if (err) {
        res.status(500).end()
        return
      }

      res.header('Content-Type', 'application/xml')
      res.send(xml)
    })
  })

  server.get('/robots.txt', (req, res) => {
    res.sendFile(path.join(__dirname, '../static', 'robots.txt'))
  })
}

module.exports = setup
Now that we have that, you'll see that I added an /about page to the sitemap. There is no reason why we shouldn't add that page to /pages/ folder.
In your terminal:
touch pages/about.js
And your about.js for now:
import Link from 'next/link'

export default function AboutPage() {
  return(
    <div>
      <h1>About Page!</h1>
      <Link href="/"><a>Home</a></Link>
    </div>
  )
}
Start up the server again by running yarn start and head over to http://localhost:4160/about

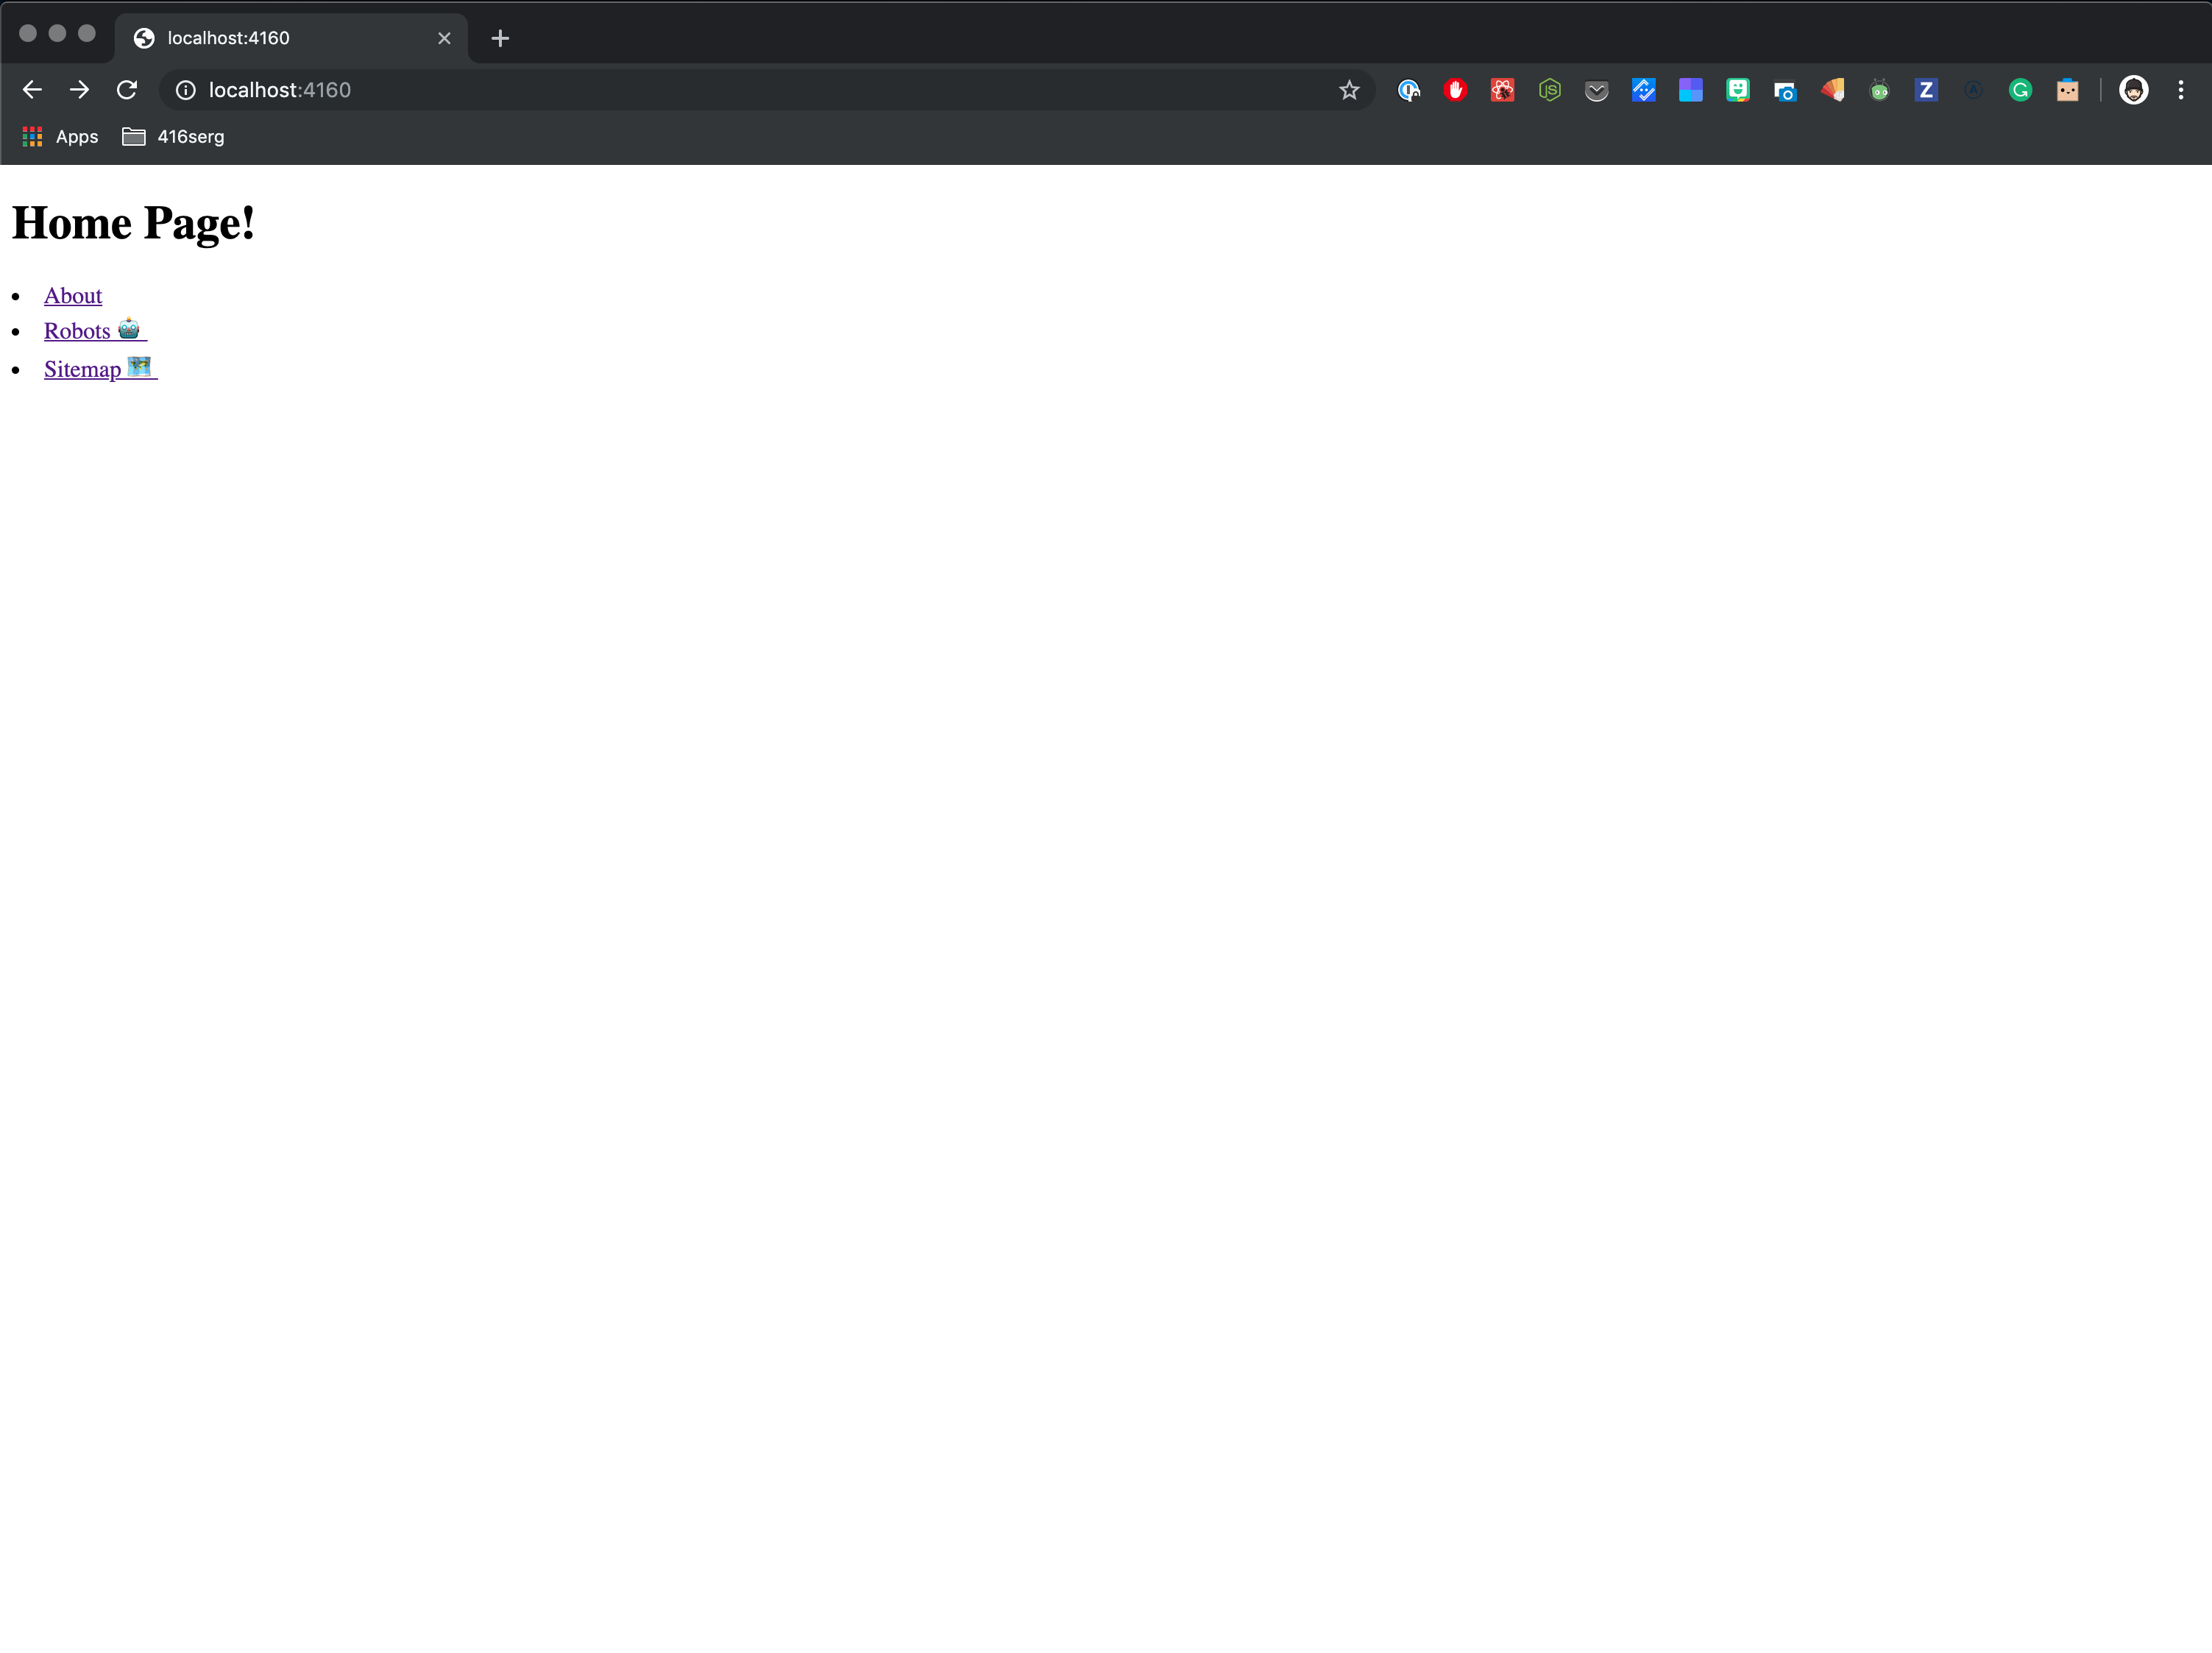
I'm introducing a new component here, Link which is how NextJS handles route navigation. Now that we have that, let's link the homepage to the about page and add the links to robots.txt and sitemap.xml to the homepage as well so we know it's working.
Your pages/index.js will look something like this:
import Link from 'next/link'

export default function HomePage() {
  return (
    <div>
      <h1>Home Page!</h1>
      <nav>
        <li><Link href="/about"><a>About</a></Link></li>
        <li><a href="/robots.txt">Robots 🤖</a></li>
        <li><a href="/sitemap.xml">Sitemap 🗺️</a></li>
      </nav>
    </div>
  )
}
Styled Components
Now that we have a few elements on the page, it's a good time to clean them up a little bit. I am not a designer, and this isn't a post about styling components, but we'll get set up so that we can use them in the future.
In your terminal:
yarn add styled-components && yarn add --dev babel-plugin-styled-components
Then create a .babelrc file in the root of your project
{
  "presets": [
    "next/babel"
  ],
  "plugins": [
    [
      "styled-components",
      {
        "ssr": true
      }
    ]
  ]
}
This will make sure that the NextJS compiler configures styled components correctly. Next, we'll need to configure styled-components to work within our application. NextJS provides handy tools to configure your <document/> and the whole app wrapper. If you create a _document.js or an _app.js inside pages, you customize your application's SEO tags, add components that are global within your application, and other fun stuff. For styled components, we'll need to create a document.js as follows:
import Document from 'next/document'
import { ServerStyleSheet } from 'styled-components'

export default class MyDocument extends Document {
  static async getInitialProps (ctx) {
    const sheet = new ServerStyleSheet()
    const originalRenderPage = ctx.renderPage

    try {
      ctx.renderPage = () =>
        originalRenderPage({
          enhanceApp: App => props => sheet.collectStyles(<App {...props} />)
        })

      const initialProps = await Document.getInitialProps(ctx)
      return {
        ...initialProps,
        styles: <>{initialProps.styles}{sheet.getStyleElement()}</>
      }
    } finally {
      sheet.seal()
    }
  }
}
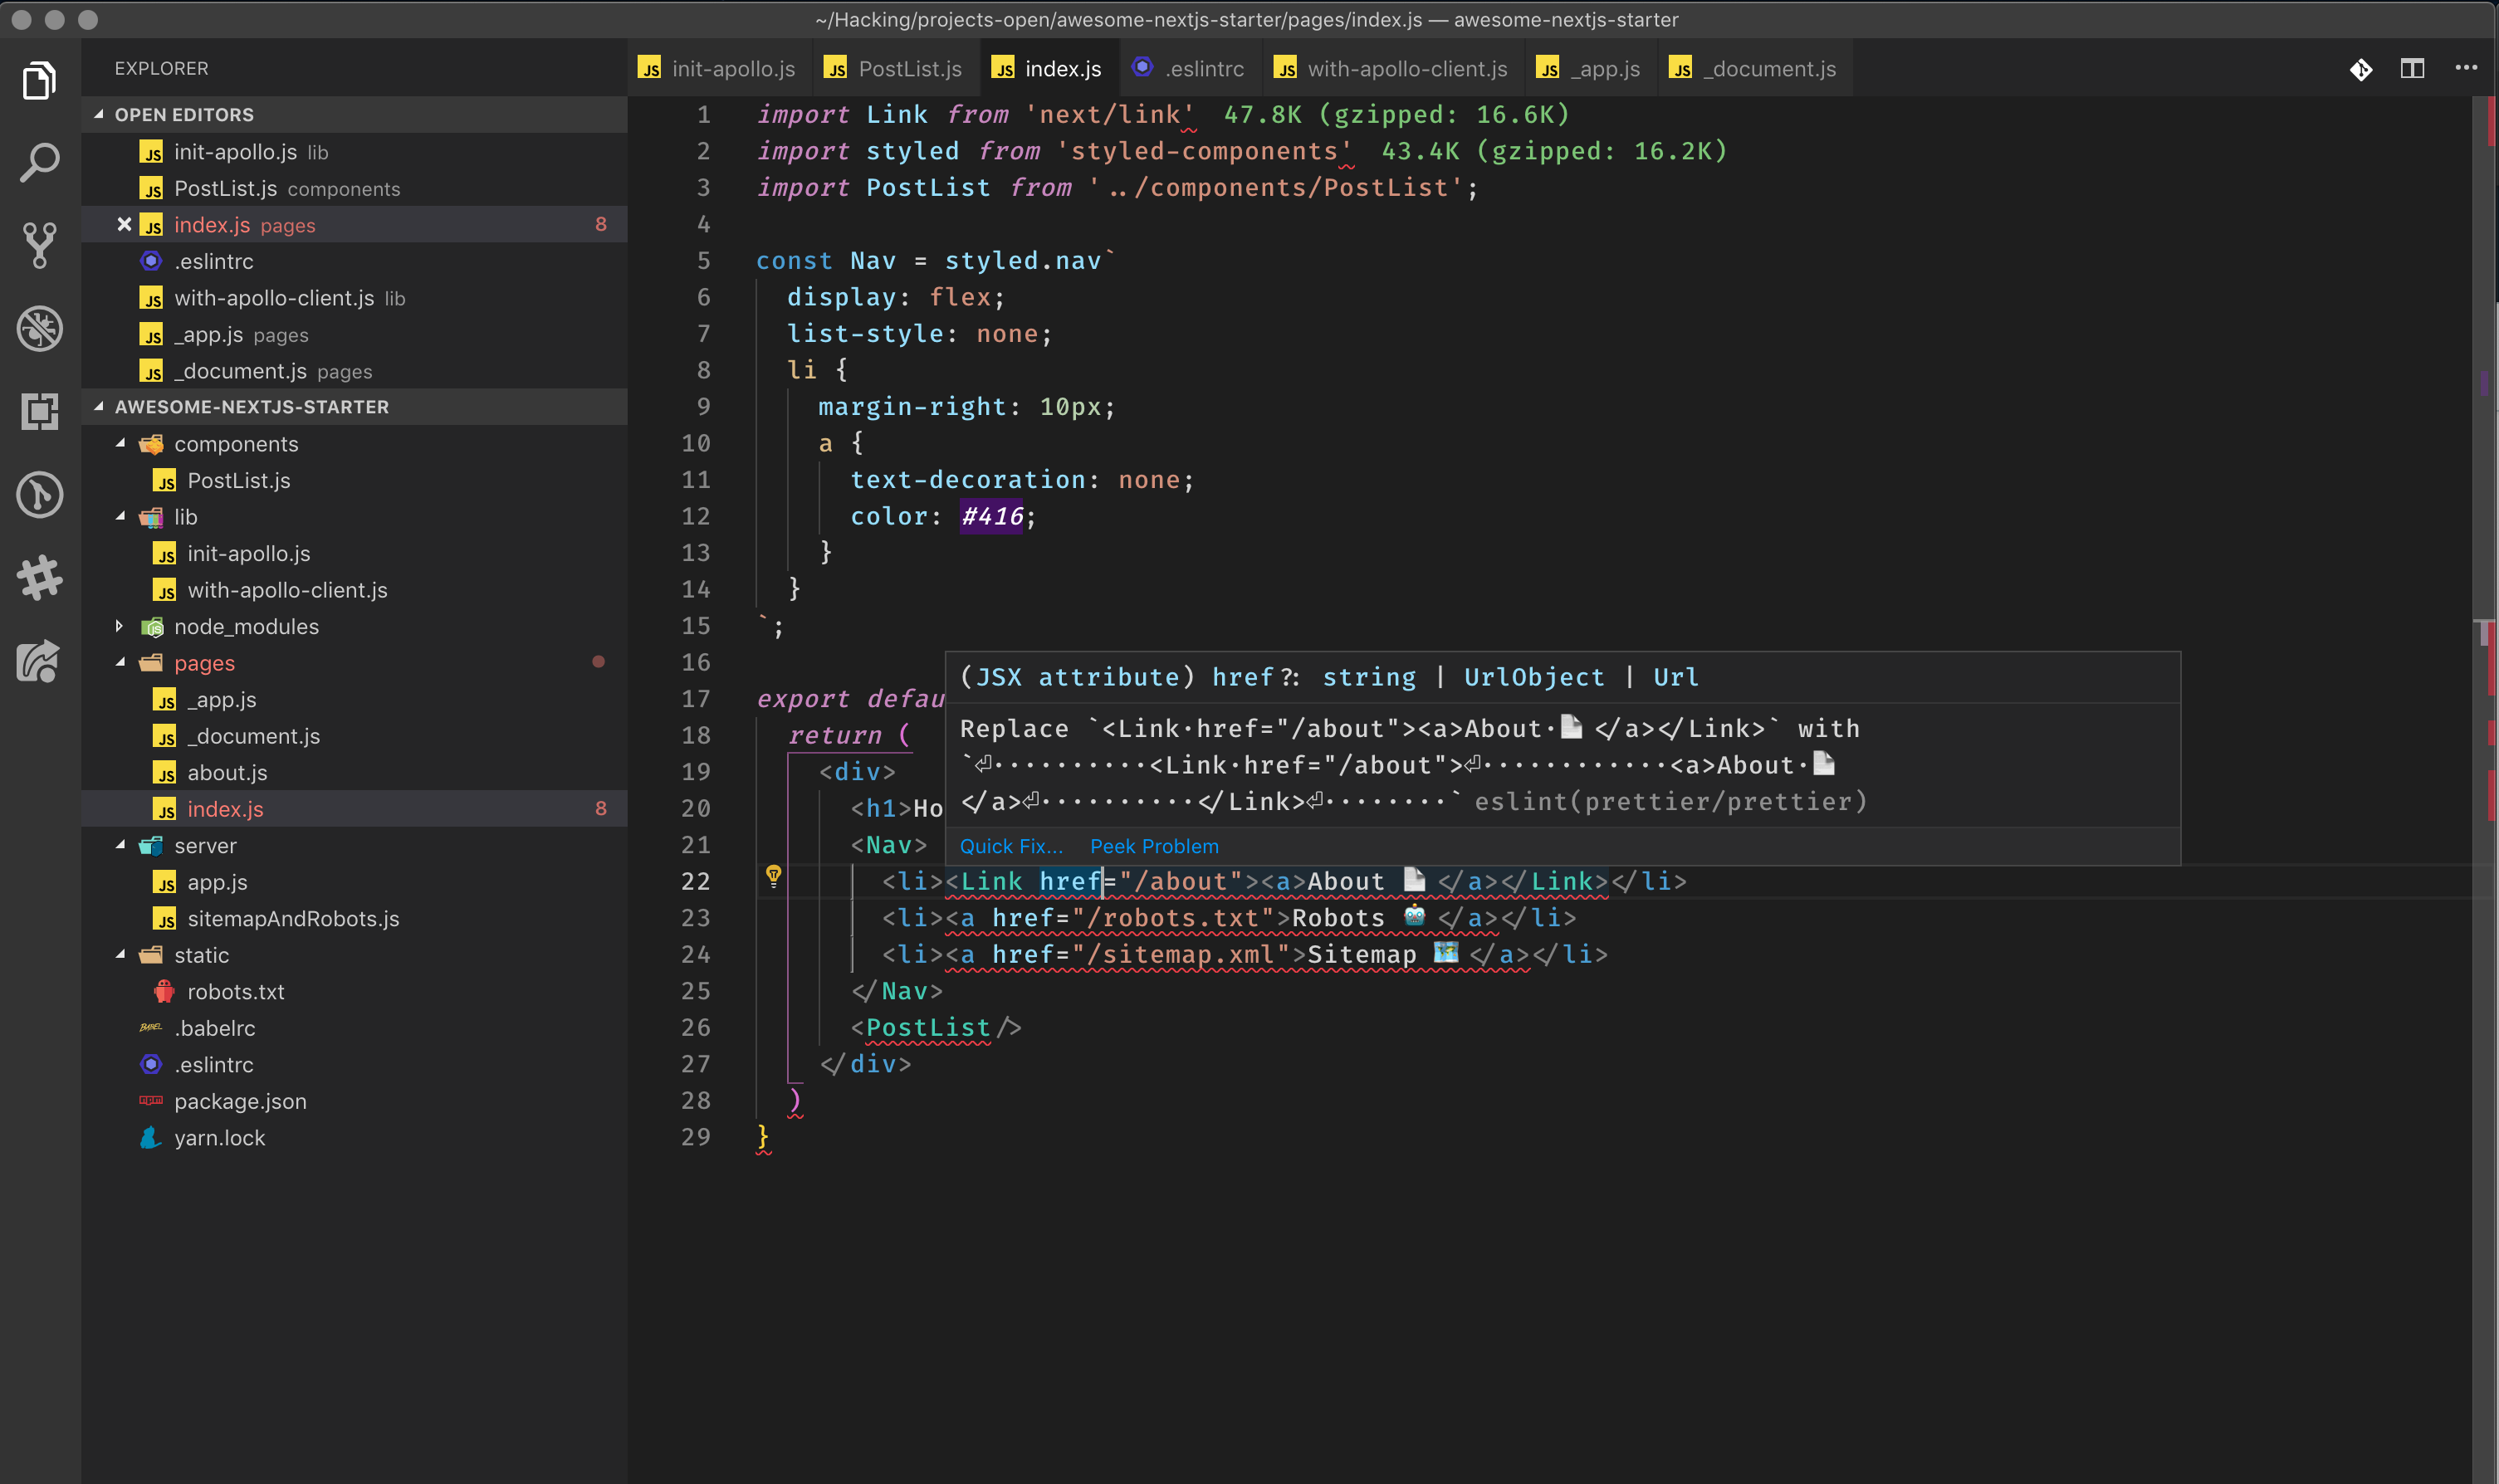
Now, to make sure it's working, let's add a styled component to pages/index.js:
import Link from 'next/link'
import styled from 'styled-components'

const Nav = styled.nav`
  display: flex;
  list-style: none;
  li {
    margin-right: 10px;
    a {
      text-decoration: none;
      color: #416;
    }
  }
`;

export default function HomePage() {
  return (
    <div>
      <h1>Home Page!</h1>
      <Nav>
        <li><Link href="/about"><a>About 📄</a></Link></li>
        <li><a href="/robots.txt">Robots 🤖</a></li>
        <li><a href="/sitemap.xml">Sitemap 🗺️</a></li>
      </Nav>
    </div>
  )
}

Apollo
Most applications rely on data being passed in from somewhere. For me, it recently has been tapping into a GraphQL backend. Here we'll create a simple configuration and pull some data in from a GraphQL endpoint.
First, let's install all the packages we need, head over to your terminal:
yarn add apollo-boost react-apollo graphql isomorphic-unfetch prop-types
And now, while still in the terminal, let's create a few files we'll need to configure Apollo:
mkdir lib && touch lib/init-apollo.js && touch lib/with-apollo-client.js
Open up the new files in your text editor and here's what they should look like.
init-apollo.js:
import { ApolloClient, InMemoryCache, HttpLink } from 'apollo-boost'
import fetch from 'isomorphic-unfetch'

let apolloClient = null

// Polyfill fetch() on the server (used by apollo-client)
if (!process.browser) {
  global.fetch = fetch
}

function create (initialState) {
  // Check out https://github.com/zeit/next.js/pull/4611 if you want to use the AWSAppSyncClient
  return new ApolloClient({
    connectToDevTools: process.browser,
    ssrMode: !process.browser, // Disables forceFetch on the server (so queries are only run once)
    link: new HttpLink({
      uri: 'https://api.graph.cool/simple/v1/cixmkt2ul01q00122mksg82pn', // Server URL (must be absolute)
      credentials: 'same-origin' // Additional fetch() options like `credentials` or `headers`
    }),
    cache: new InMemoryCache().restore(initialState || {})
  })
}

export default function initApollo (initialState) {
  // Make sure to create a new client for every server-side request so that data
  // isn't shared between connections (which would be bad)
  if (!process.browser) {
    return create(initialState)
  }

  // Reuse client on the client-side
  if (!apolloClient) {
    apolloClient = create(initialState)
  }

  return apolloClient
}
And with-apollo-client.js:
import React from 'react'
import initApollo from './init-apollo'
import Head from 'next/head'
import { getDataFromTree } from 'react-apollo'

export default App => {
  return class Apollo extends React.Component {
    static displayName = 'withApollo(App)'
    static async getInitialProps (ctx) {
      const { Component, router } = ctx

      let appProps = {}
      if (App.getInitialProps) {
        appProps = await App.getInitialProps(ctx)
      }

      // Run all GraphQL queries in the component tree
      // and extract the resulting data
      const apollo = initApollo()
      if (!process.browser) {
        try {
          // Run all GraphQL queries
          await getDataFromTree(
            <App
              {...appProps}
              Component={Component}
              router={router}
              apolloClient={apollo}
            />
          )
        } catch (error) {
          // Prevent Apollo Client GraphQL errors from crashing SSR.
          // Handle them in components via the data.error prop:
          // https://www.apollographql.com/docs/react/api/react-apollo.html#graphql-query-data-error
          console.error('Error while running `getDataFromTree`', error)
        }

        // getDataFromTree does not call componentWillUnmount
        // head side effect therefore need to be cleared manually
        Head.rewind()
      }

      // Extract query data from the Apollo store
      const apolloState = apollo.cache.extract()

      return {
        ...appProps,
        apolloState
      }
    }

    constructor (props) {
      super(props)
      this.apolloClient = initApollo(props.apolloState)
    }

    render () {
      return <App {...this.props} apolloClient={this.apolloClient} />
    }
  }
}
And finally, we need to wrap our application into this new App Component. For that, we'll use NextJS's custom _app.js file. Similar to how we've set up _document.js to work with styled-components, let's go ahead and create _app.js inside the pages folder:
import App, { Container } from 'next/app'
import React from 'react'
import withApolloClient from '../lib/with-apollo-client'
import { ApolloProvider } from 'react-apollo'

class MyApp extends App {
  render () {
    const { Component, pageProps, apolloClient } = this.props
    return (
      <Container>
        <ApolloProvider client={apolloClient}>
          <Component {...pageProps} />
        </ApolloProvider>
      </Container>
    )
  }
}

export default withApolloClient(MyApp)
Now it's time to make sure our app still works as expect, so let's start things up by yarn start in your terminal. Everything should work as expected.
Displaying data from GraphQL
Lets create a simple component which will fetch some data from the GraphQL endpoint we have. We'll create a file PostList.js inside our components folder which has been empty up to this point.
import { Query } from 'react-apollo'
import gql from 'graphql-tag'

export const allPostsQuery = gql`
  query allPosts($first: Int!, $skip: Int!) {
    allPosts(orderBy: createdAt_DESC, first: $first, skip: $skip) {
      id
      title
      votes
      url
      createdAt
    }
    _allPostsMeta {
      count
    }
  }
`
export const allPostsQueryVars = {
  skip: 0,
  first: 10
}

export default function PostList () {
  return (
    <Query query={allPostsQuery} variables={allPostsQueryVars}>
      {({ loading, error, data: { allPosts, _allPostsMeta }, fetchMore }) => {
        if (error) return <aside>Error loading posts!</aside>
        if (loading) return <div>Loading</div>

        const areMorePosts = allPosts.length < _allPostsMeta.count
        return (
          <section>
            <ul>
              {allPosts.map((post, index) => (
                <li key={post.id}>
                  <div>
                    <span>{index + 1}. </span>
                    <a href={post.url}>{post.title}</a>
                  </div>
                </li>
              ))}
            </ul>
            {areMorePosts ? (
              <button onClick={() => loadMorePosts(allPosts, fetchMore)}>
                {' '}
                {loading ? 'Loading...' : 'Show More'}{' '}
              </button>
            ) : (
              ''
            )}
          </section>
        )
      }}
    </Query>
  )
}

function loadMorePosts (allPosts, fetchMore) {
  fetchMore({
    variables: {
      skip: allPosts.length
    },
    updateQuery: (previousResult, { fetchMoreResult }) => {
      if (!fetchMoreResult) {
        return previousResult
      }
      return Object.assign({}, previousResult, {
        // Append the new posts results to the old one
        allPosts: [...previousResult.allPosts, ...fetchMoreResult.allPosts]
      })
    }
  })
}
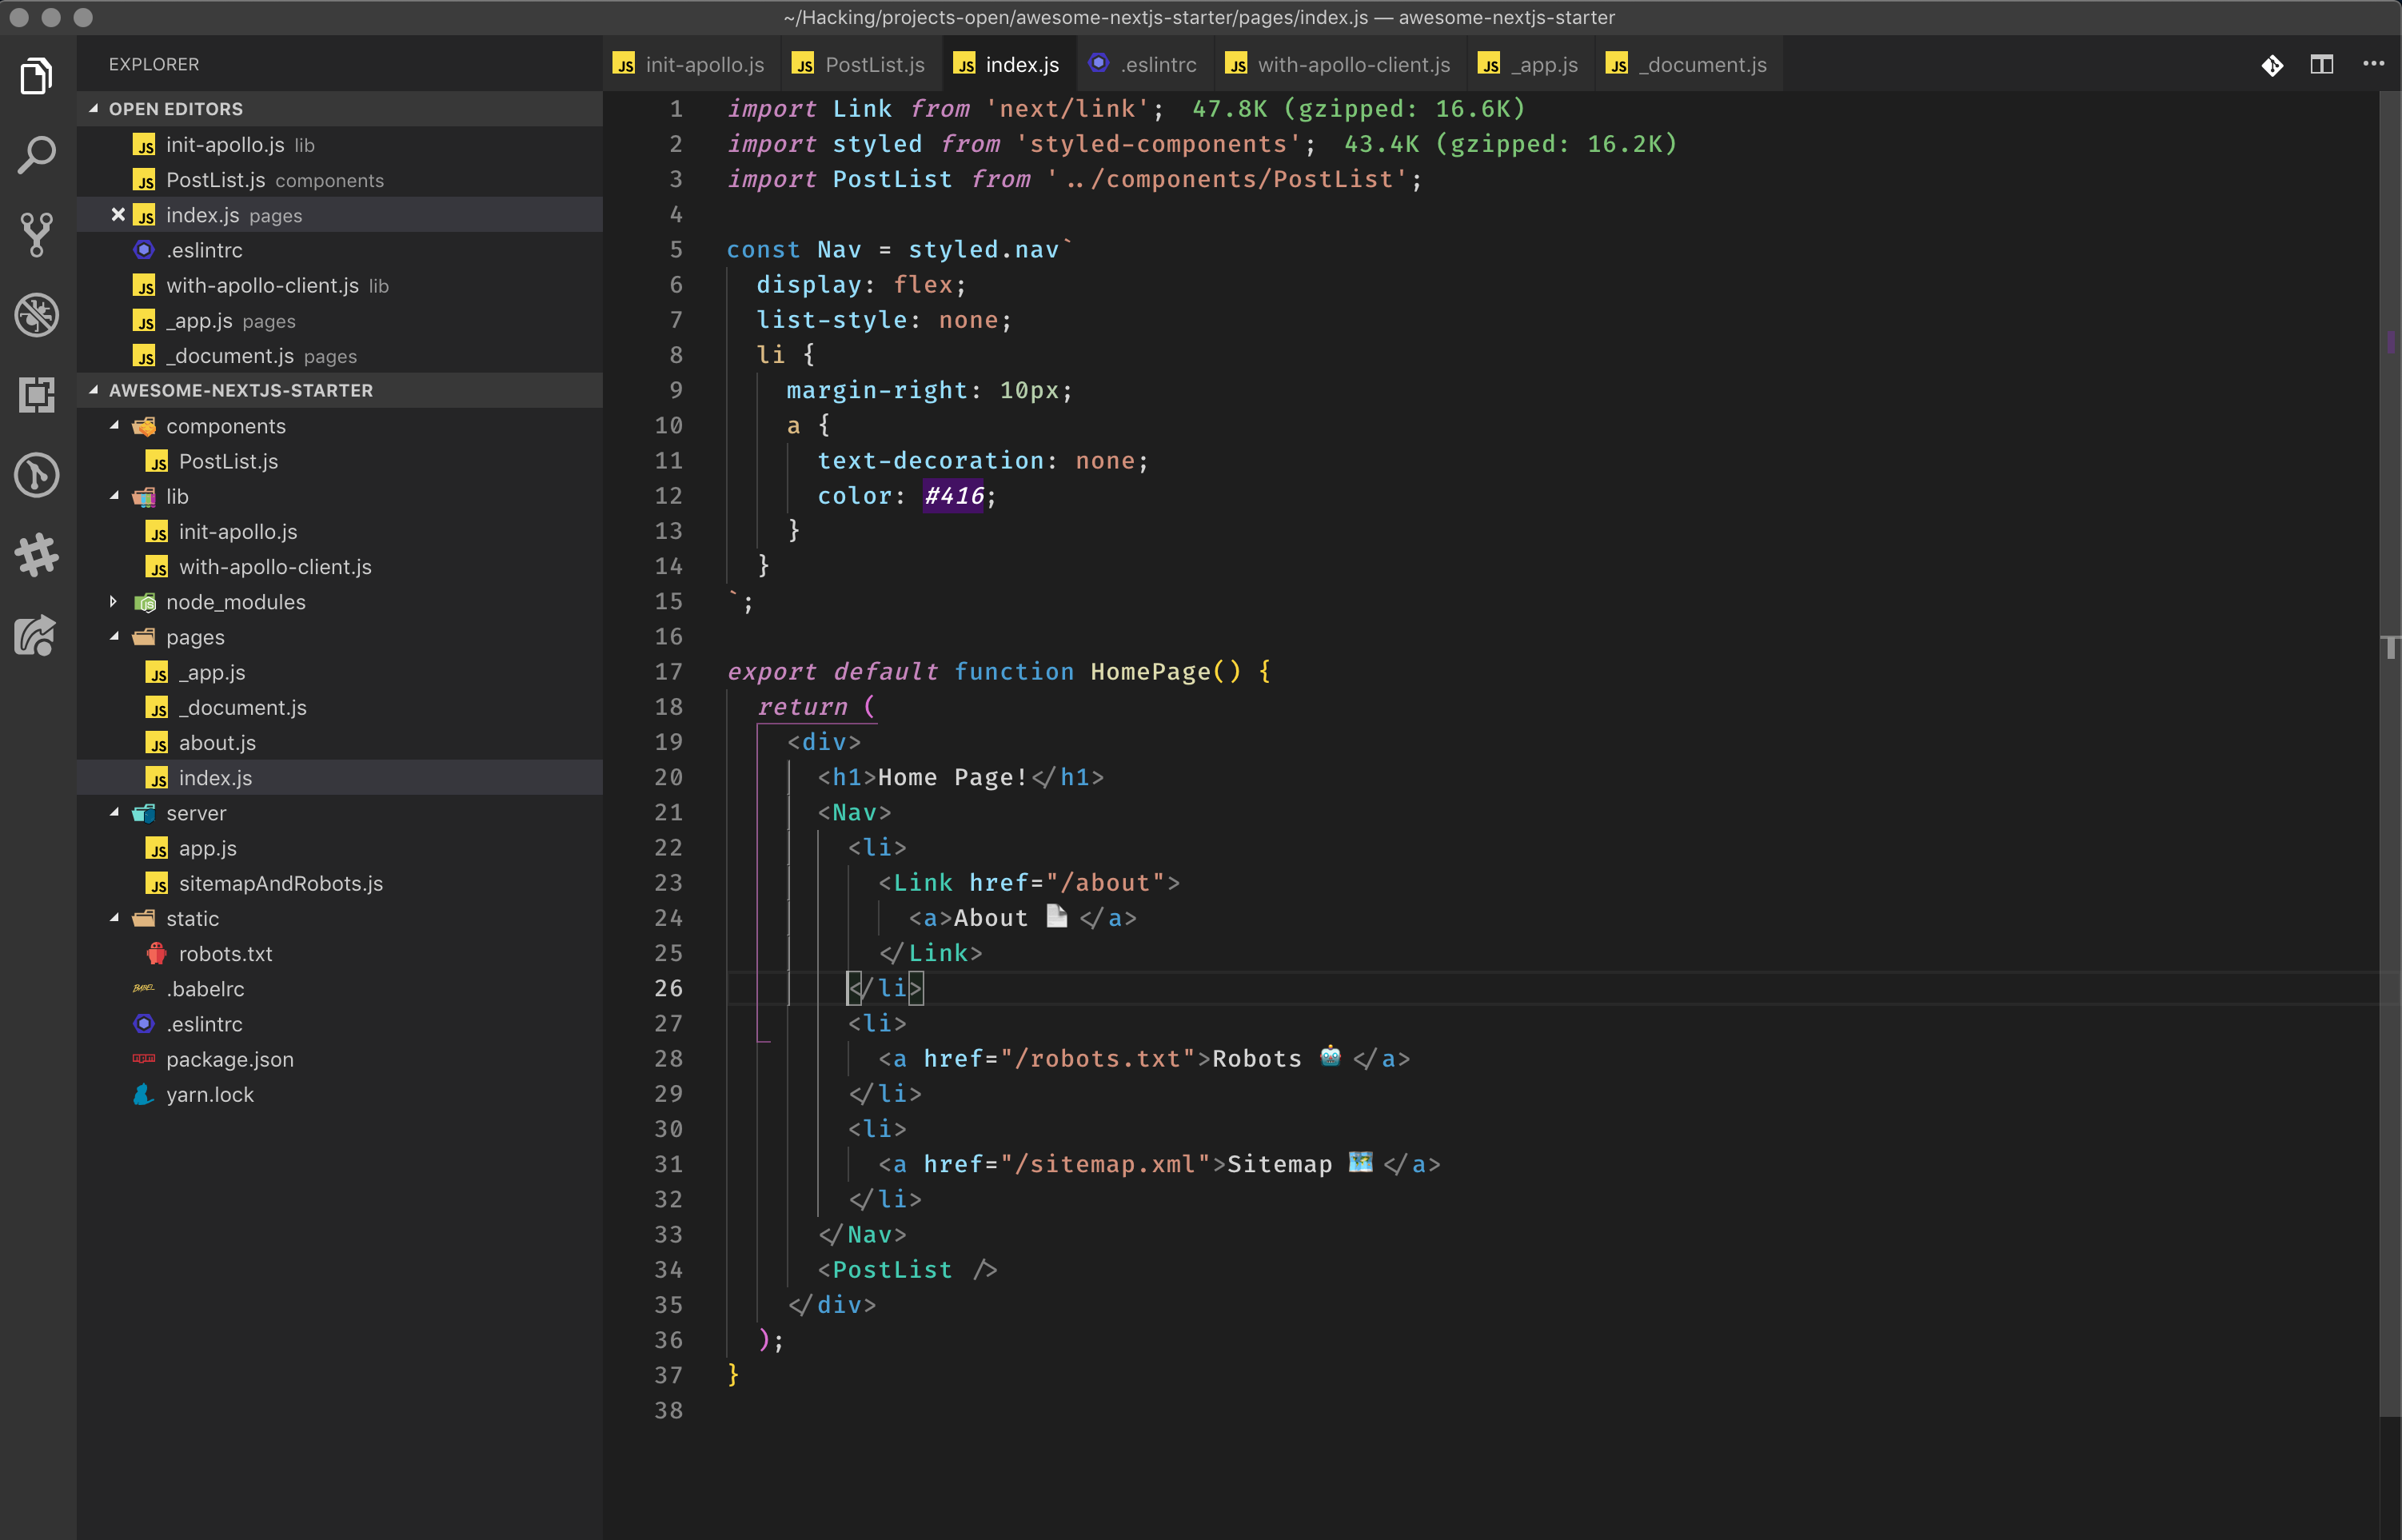
And now we'll display it on our homepage, so you index.js inside pages folder should look like this:
import Link from 'next/link'
import styled from 'styled-components'
import PostList from '../components/PostList';

const Nav = styled.nav`
  display: flex;
  list-style: none;
  li {
    margin-right: 10px;
    a {
      text-decoration: none;
      color: #416;
    }
  }
`;

export default function HomePage() {
  return (
    <div>
      <h1>Home Page!</h1>
      <Nav>
        <li><Link href="/about"><a>About 📄</a></Link></li>
        <li><a href="/robots.txt">Robots 🤖</a></li>
        <li><a href="/sitemap.xml">Sitemap 🗺️</a></li>
      </Nav>
      <PostList/>
    </div>
  )
}

Woohoo, we've got some external data coming in!
ESLint (and Prettier)
Up to this point, we've been writing our code, but we had nothing in place to make sure we write great code. From syntax fixes, to making sure you are prop checking your components, ESLint and Prettier will help us make sure our code is 💯. Usually, the config is pretty tedious and annoying, thankfully, Wes Bos created an easy to install and implement solution. You can see it on Github, but we'll quickly go through it here.
In the root of our project, your terminal:
npx install-peerdeps --dev eslint-config-wesbos
Even though, we're using npx here, which is an npm function, it will see that we're using yarn and ask if we want to install packages that way, to which you should probably say yes.
Now, we'll create a .eslintrc file inside our project.
{
  "extends": [
    "wesbos"
  ]
}
Now, we can close out our text editor, and reopen it and you should start seeing errors in files, like pages/index.js.
If you're using VSCode, and have everything set up, if you hit CMND + S to save the file, it should lint the file and clean it up for us.
Alternatevile, we can add a few scripts to package.json
  "scripts": {
    "build": "next build",
    "start": "node server/app.js",
    "lint": "eslint .",
    "lint:fix": "eslint . --fix"
  },
Now, if you run yarn lint:fix in your terminal, it should go through the folder and lint and fix anything it can. If you get stuck at any point, Wes came out with an awesome Youtube video setting up the config for VSCode.
DOTENV
Most applications will have environment variables specific to those applications as well as specific to environments. For example, in development, you might want to use one API endpoint, and in production, a different one.
For that, I find dotenv is fairly easy to set up and manage rather than passing the variables directly to the start scripts.
Head over to your terminal and install:
yarn add dotenv dotenv-webpack
Now, we'll need to set up webpack to be able to interpret our environment variables. For that, we create a next.config.js file:
require('dotenv').config()

const path = require('path')
const Dotenv = require('dotenv-webpack')

module.exports = {
  webpack: config => {
    config.plugins = config.plugins || []

    config.plugins = [
      ...config.plugins,

      // Read the .env file
      new Dotenv({
        path: path.join(__dirname, '.env'),
        systemvars: true
      })
    ]

    return config
  }
}
Now, we'll create a .env file in the root of our project and set the API endpoint for GraphQL there.
API_ENDPOINT=https://api.graph.cool/simple/v1/cixmkt2ul01q00122mksg82pn
Lets go over to init-apollo.js and set it as an environment variable.
function create(initialState) {
  // Check out https://github.com/zeit/next.js/pull/4611 if you want to use the AWSAppSyncClient
  return new ApolloClient({
    connectToDevTools: process.browser,
    ssrMode: !process.browser, // Disables forceFetch on the server (so queries are only run once)
    link: new HttpLink({
      uri: process.env.API_ENDPOINT, // Server URL (must be absolute)
      credentials: 'same-origin', // Additional fetch() options like `credentials` or `headers`
    }),
    cache: new InMemoryCache().restore(initialState || {}),
  });
}
Lets start the app up and see if it still works... And sure it does!
Bonus: Deployment
Real quick, I want to touch on deploying the application. For that, I will be using Now.
First, we create a now.json file to configure our deployment:
{
  "name": "awesome-nextjs-starter",
  "version": 1,
  "alias": "https://awesome-nextjs-starter.now.sh",
  "env": {
    "NODE_ENV": "production",
    "API_ENDPOINT": "https://api.graph.cool/simple/v1/cixmkt2ul01q00122mksg82pn"
  }
}
And now, we just add a script to package.json to deploy our application.
  "scripts": {
    "build": "next build",
    "start": "node server/app.js",
    "now": "now && now alias",
    "lint": "eslint .",
    "lint:fix": "eslint . --fix"
  },
Now, in your teminal, run yarn now. And here we are, you can access https://awesome-nextjs-starter.now.sh/ and see our beautiful application 😃
Thanks for following along, thanks for your time. As always, you cana find me on Twitter. I am going to conciously try to write once a week, so if you're interested in what I write about, feel free to sign up for the newsletter, I will never spam or annoy you, just try to provide as much value as I can ❤️.